
With the holiday season fast approaching, it might be a good time to start making “the list.” No, not the one you’re sending to the North Pole, the one with all the gifts you need to buy for your family and friends this year. There always seems to be more people on my list than there is money in my bank account, making Christmastime the perfect time to DIY. Giving a handmade gift is one of the best ways to show someone that you care without breaking the bank.
If you’re little past the age for snow sledding anymore, consider making your old sled into a unique gift for anyone in your life with a rustic flair.
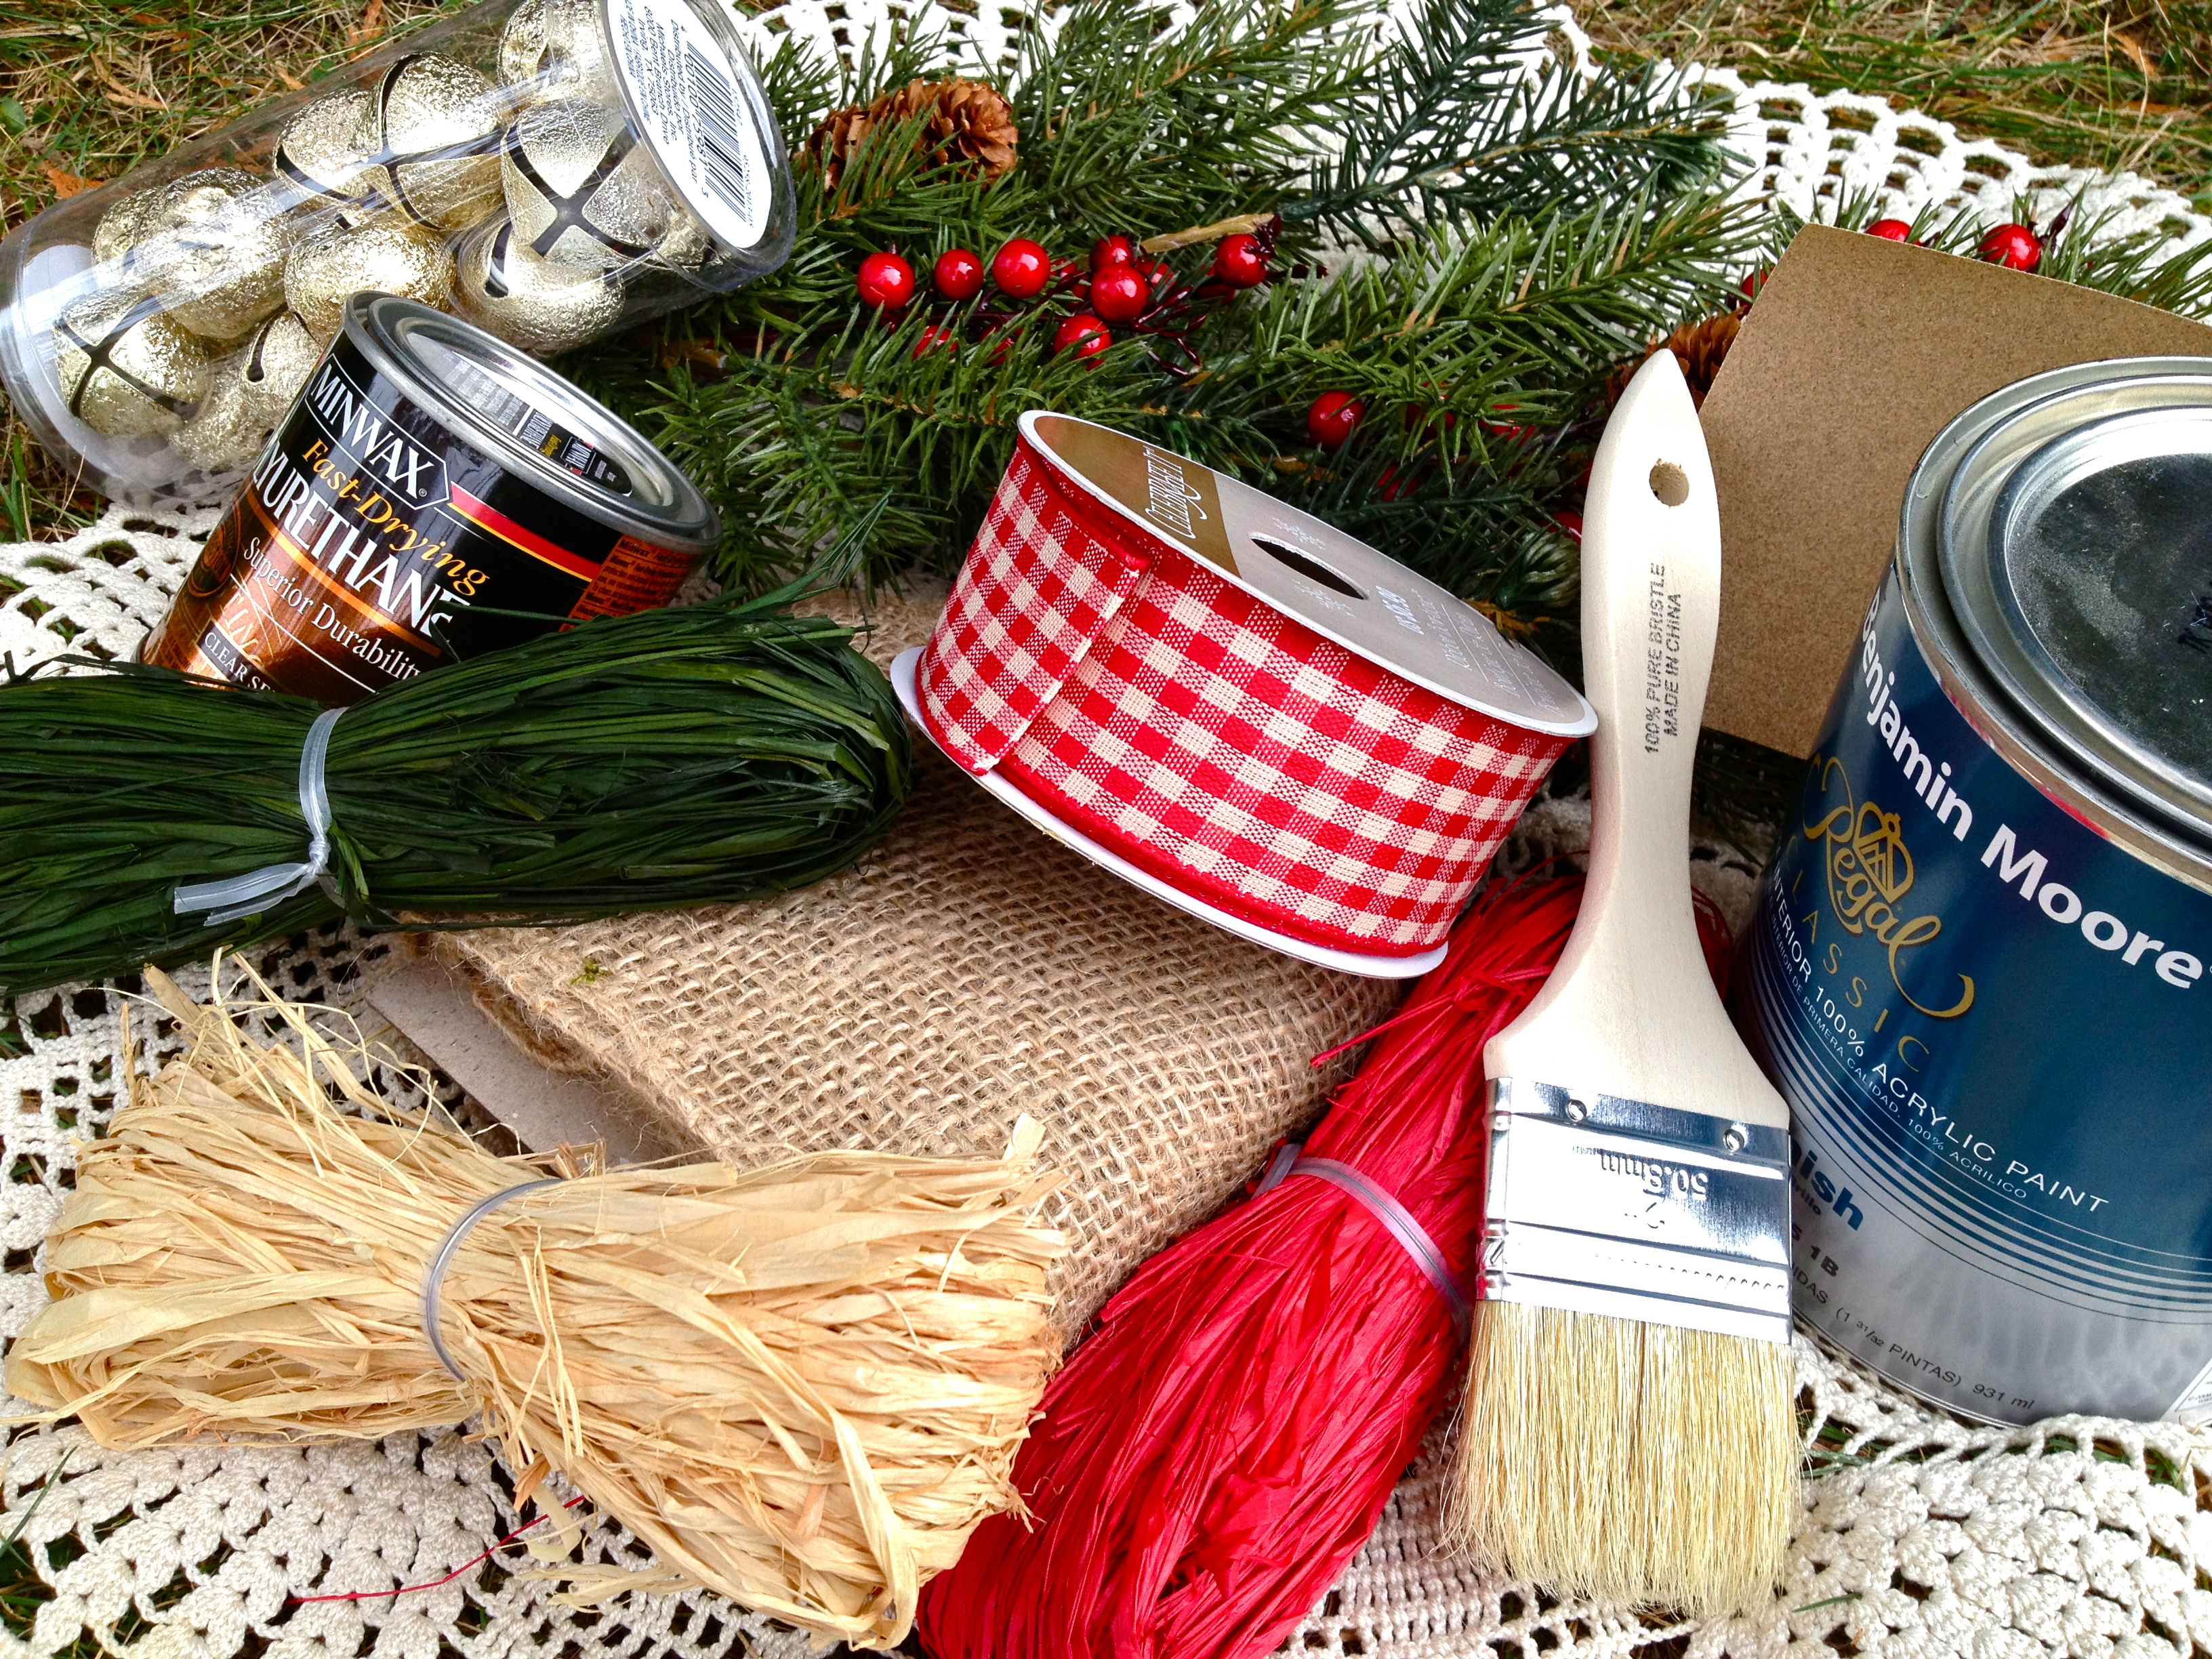
What you’ll need:
- Wooden sled (I dug mine out of the very dark, very scary corner of my shed, but you can find unfinished wooden sleds on Ebay.com)
- Paint (I used interior paint I already had, but any kind of interior or acrylic paint would work)
- Sandpaper
- Polyurethane
- Burlap Ribbon
- Any Christmas decorations that put you in that holly-jolly mood
After I pulled the sled out of depths of my shed and into the sunlight, I knew that the hardest part of this project would be cleaning it up. The sled was in serious need of a little TLC. It was covered in a thick layer of dust and dirt, which masked the even thicker layer of rust that had accumulated since the last time I rode it (circa 2002). Thankfully, a little time, a sheet of sandpaper, and a lot of old-fashioned elbow grease made a world of difference.
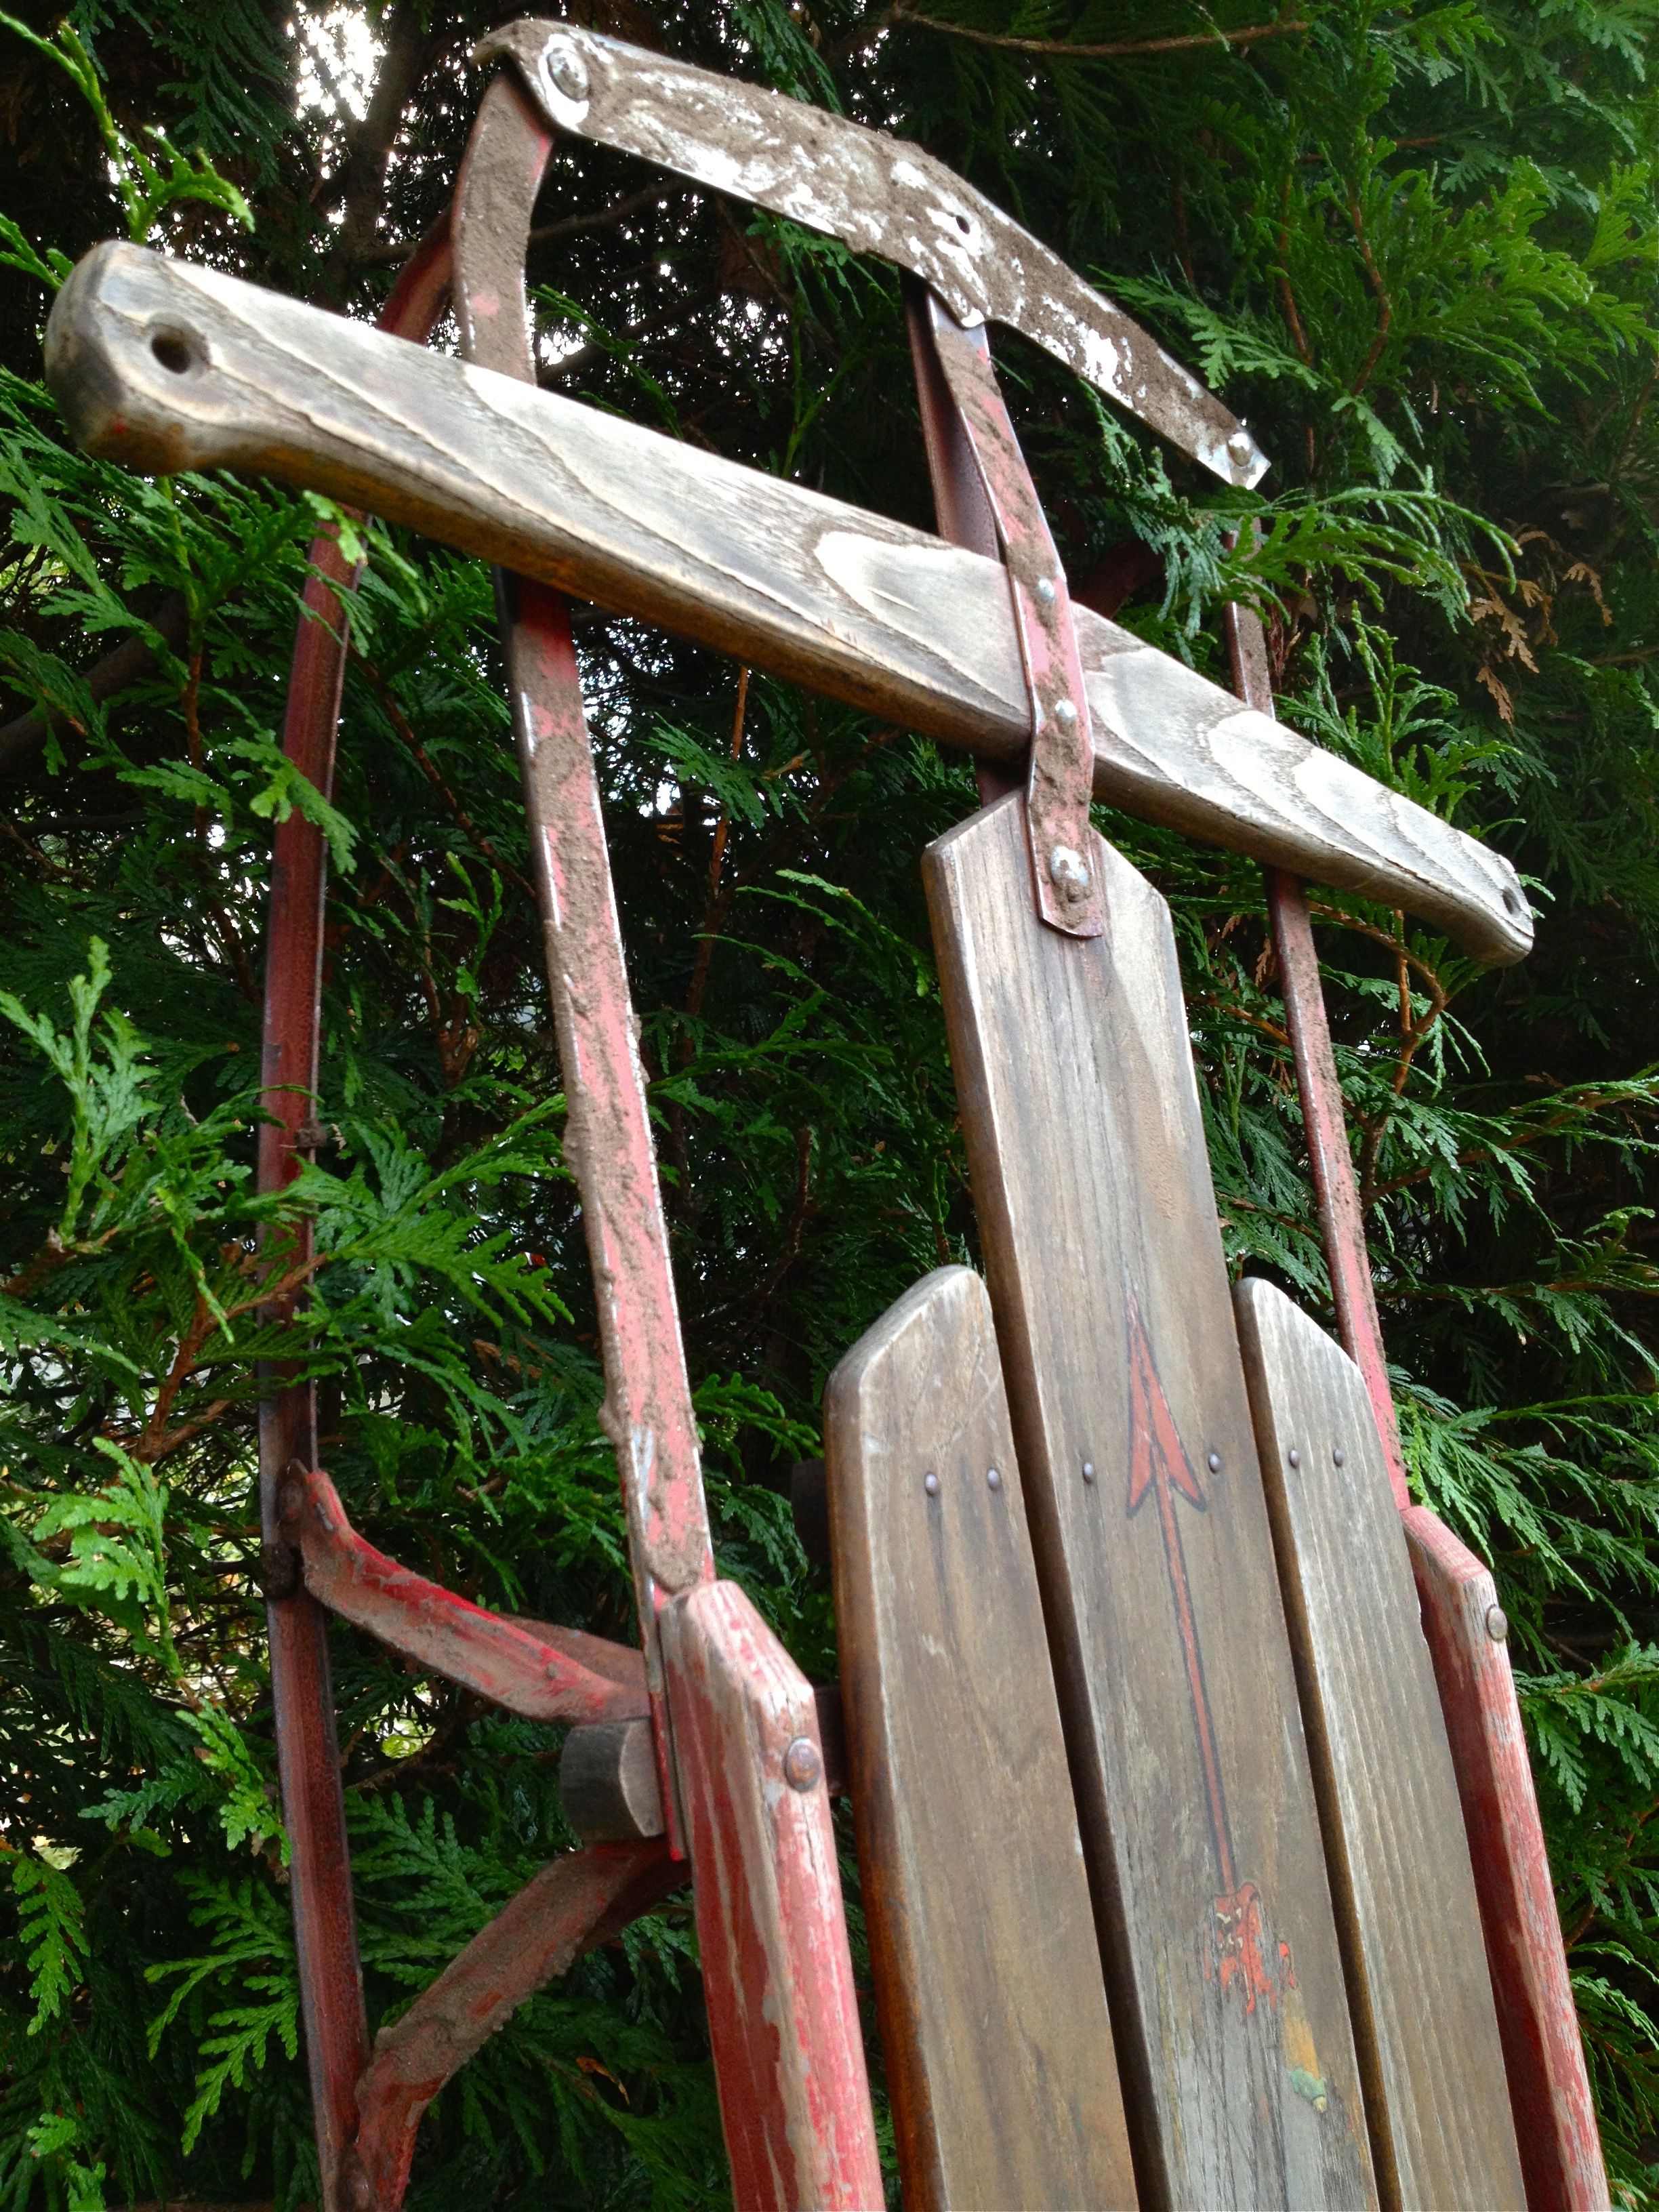
Once the dirt and rust were cleaned off, I sanded down the wooden crossbar and side pieces before giving them two coats of beige paint.

After the paint was completely dry, I sanded down a few patches of the freshly painted areas until the original wood peaked through, giving the sled a clean but distressed look.
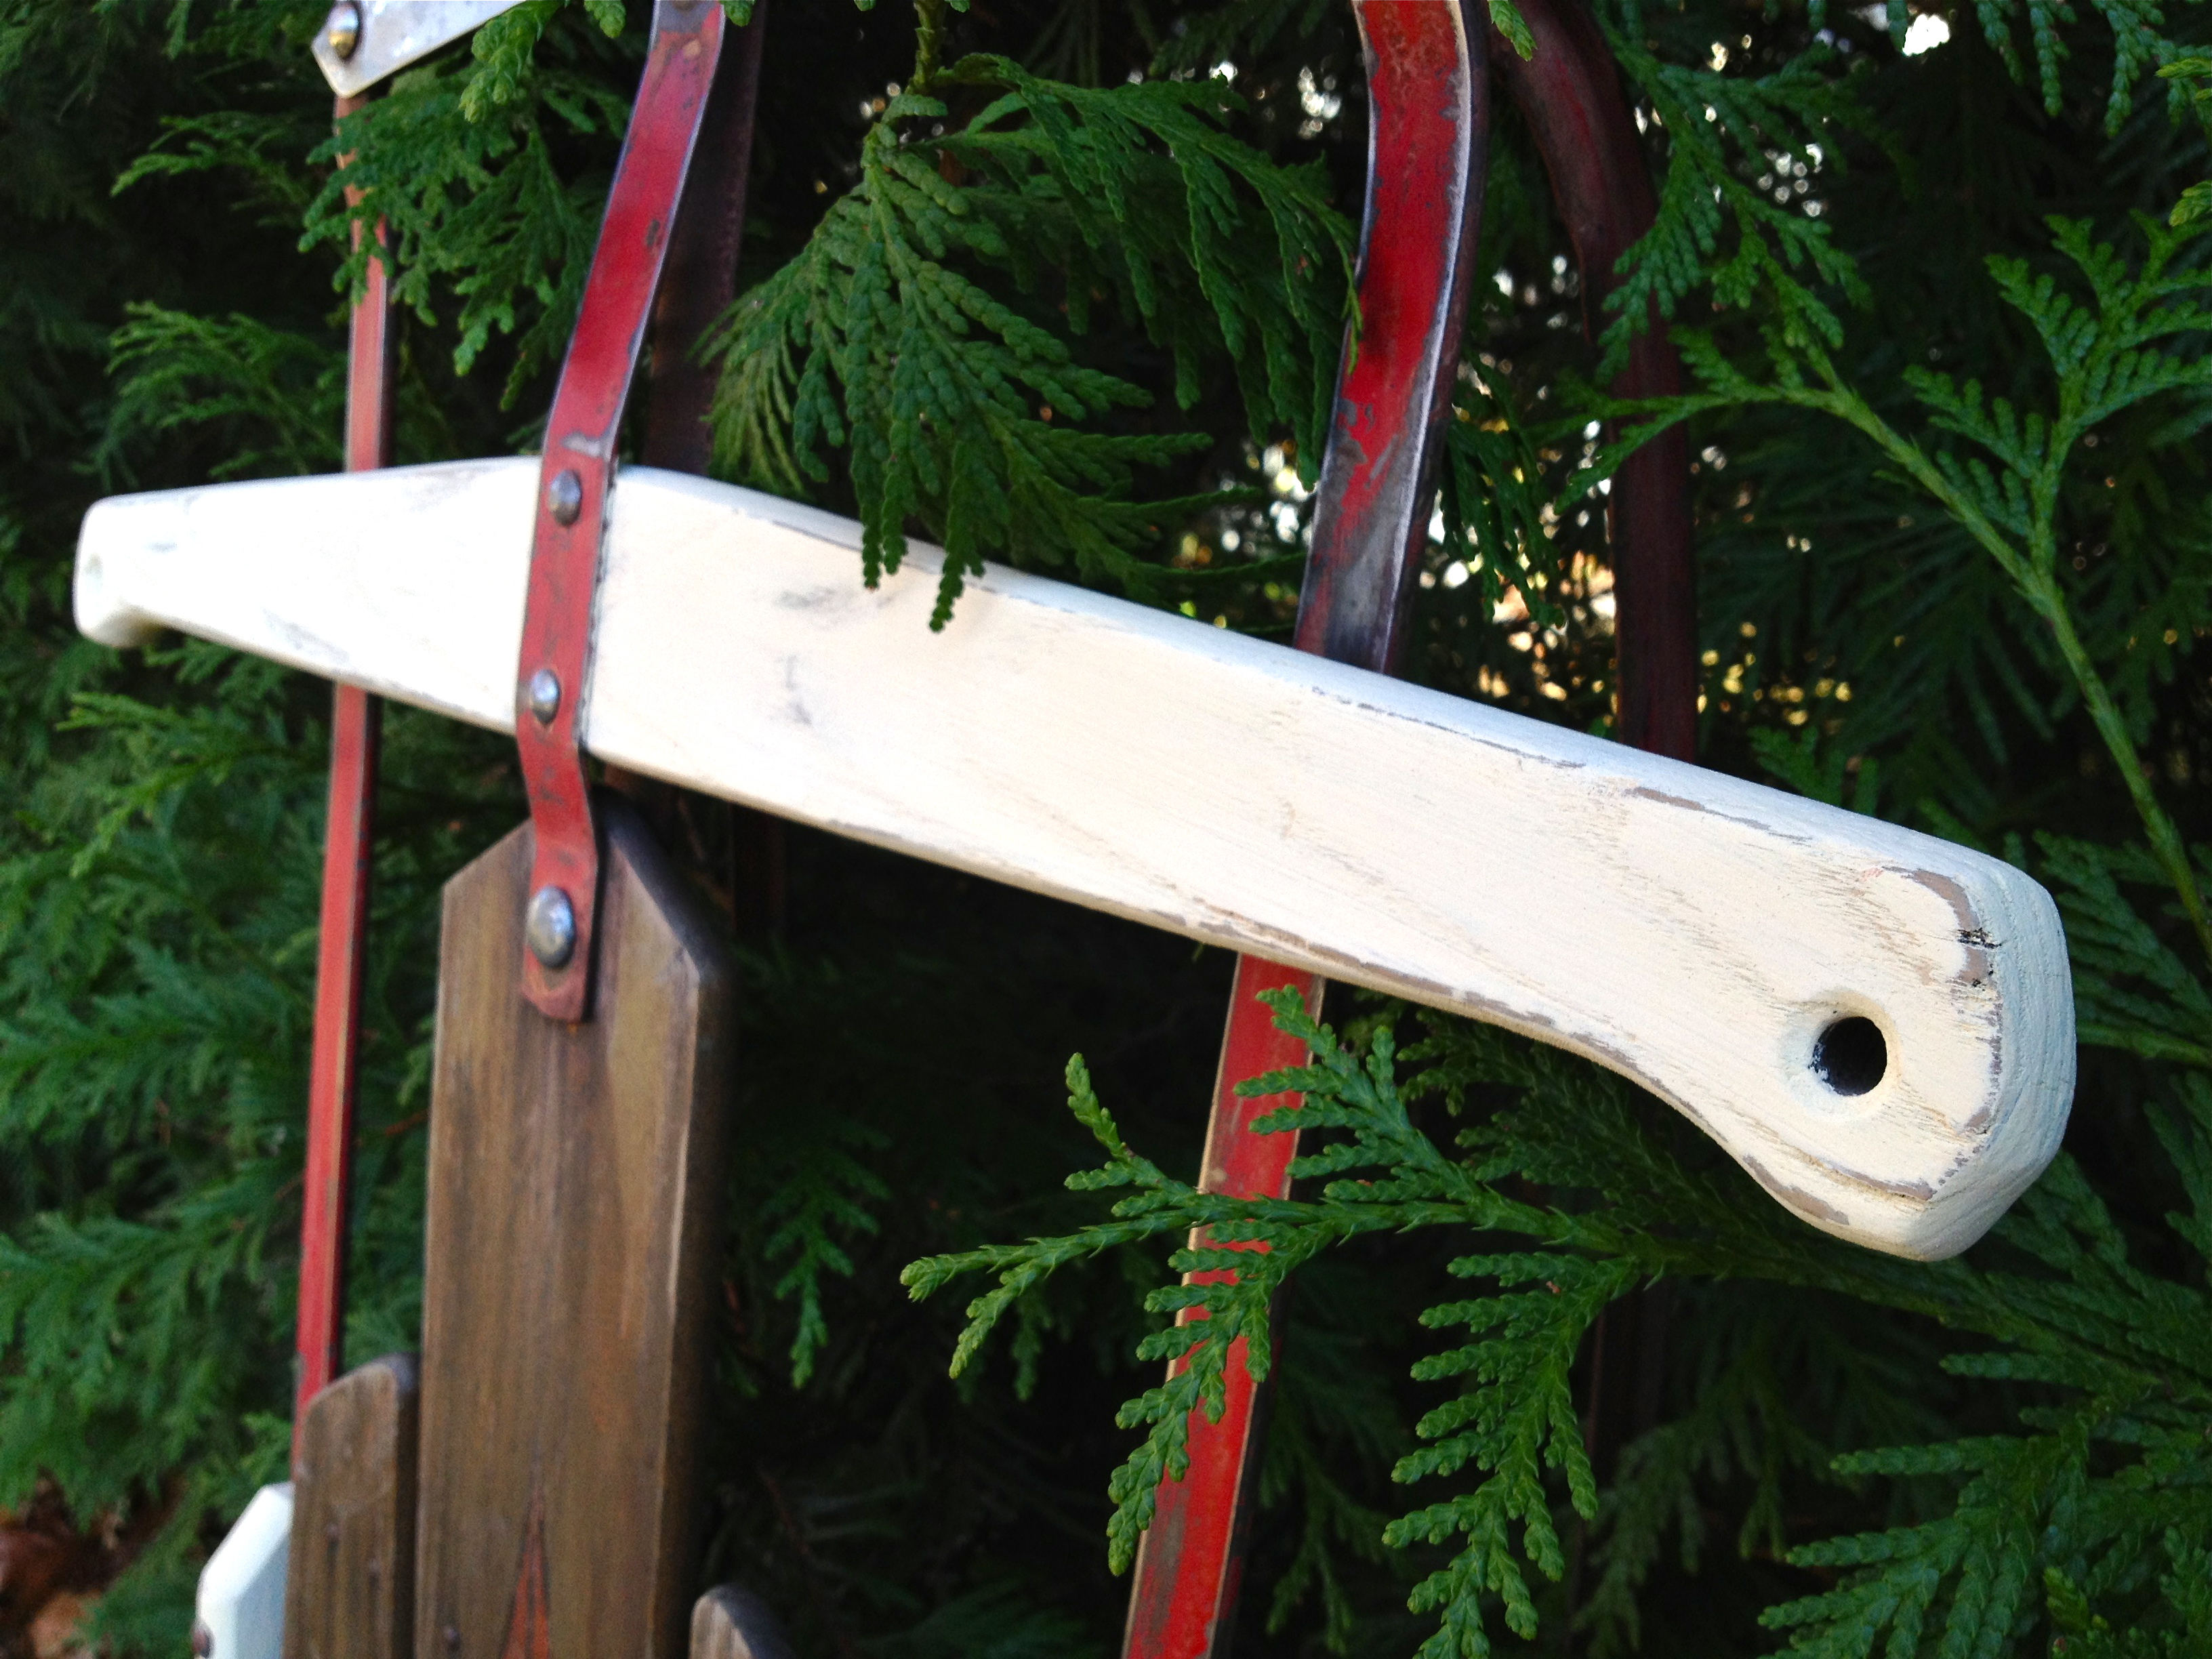
Next, I added a thin layer of polyurethane to the pieces of wood that were unpainted. I happened to have polyurethane on hand, but you can pick up a small can at any home improvement store. This gave the sled a glossier finish and really brought out the warm, natural color of the original wood.

Then it was time to make the decorations! I started by making a large burlap bow. To make a bow, take the burlap ribbon and make two loops on either end, then pinch it in the middle with your fingers. Next, take another strip of burlap to make a knot where your fingers are pinching the loops. This piece will form the tails of your bow.
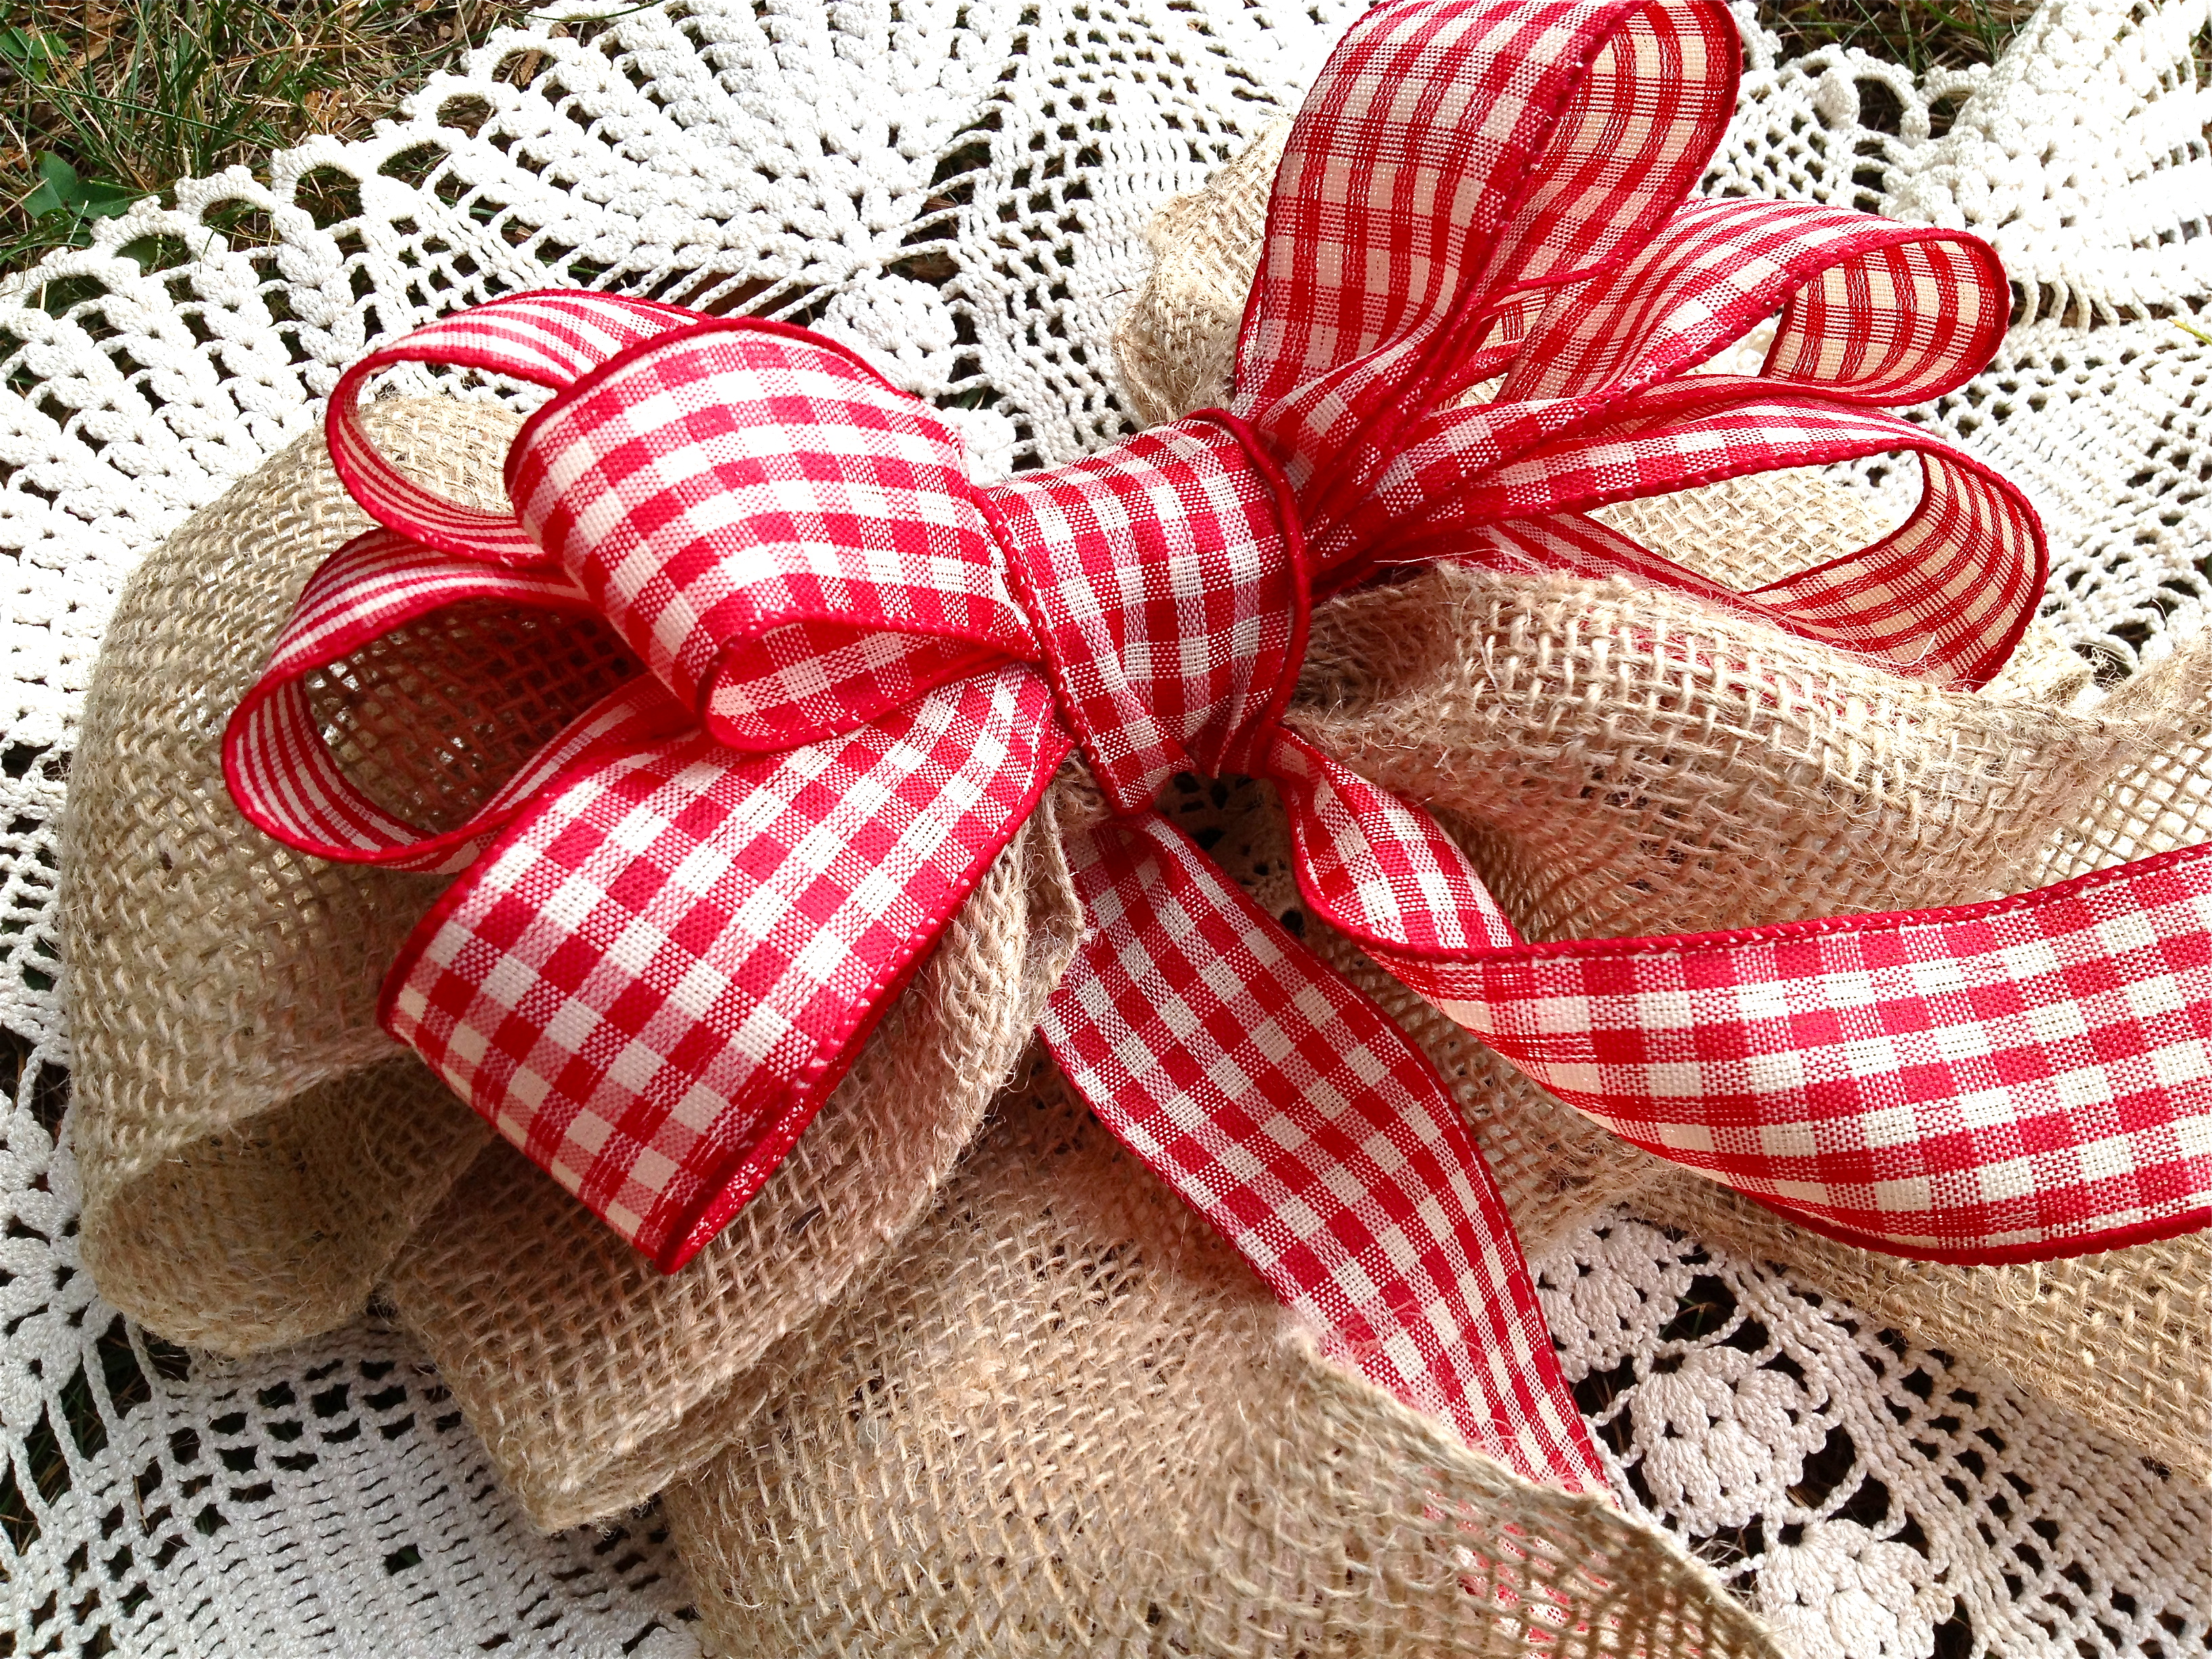
Then I used the same technique to make a triple-loop bow with my Christmas ribbon, except this time I used the second piece of ribbon to tie both the burlap and ribbon bows together.
I bought a pine branch with cranberries and pine cones on it from the craft store, and used twine to attach some jingling bells. Aside from looking adorable, as an added bonus, it sounds like Santa’s coming every time I move this sled!
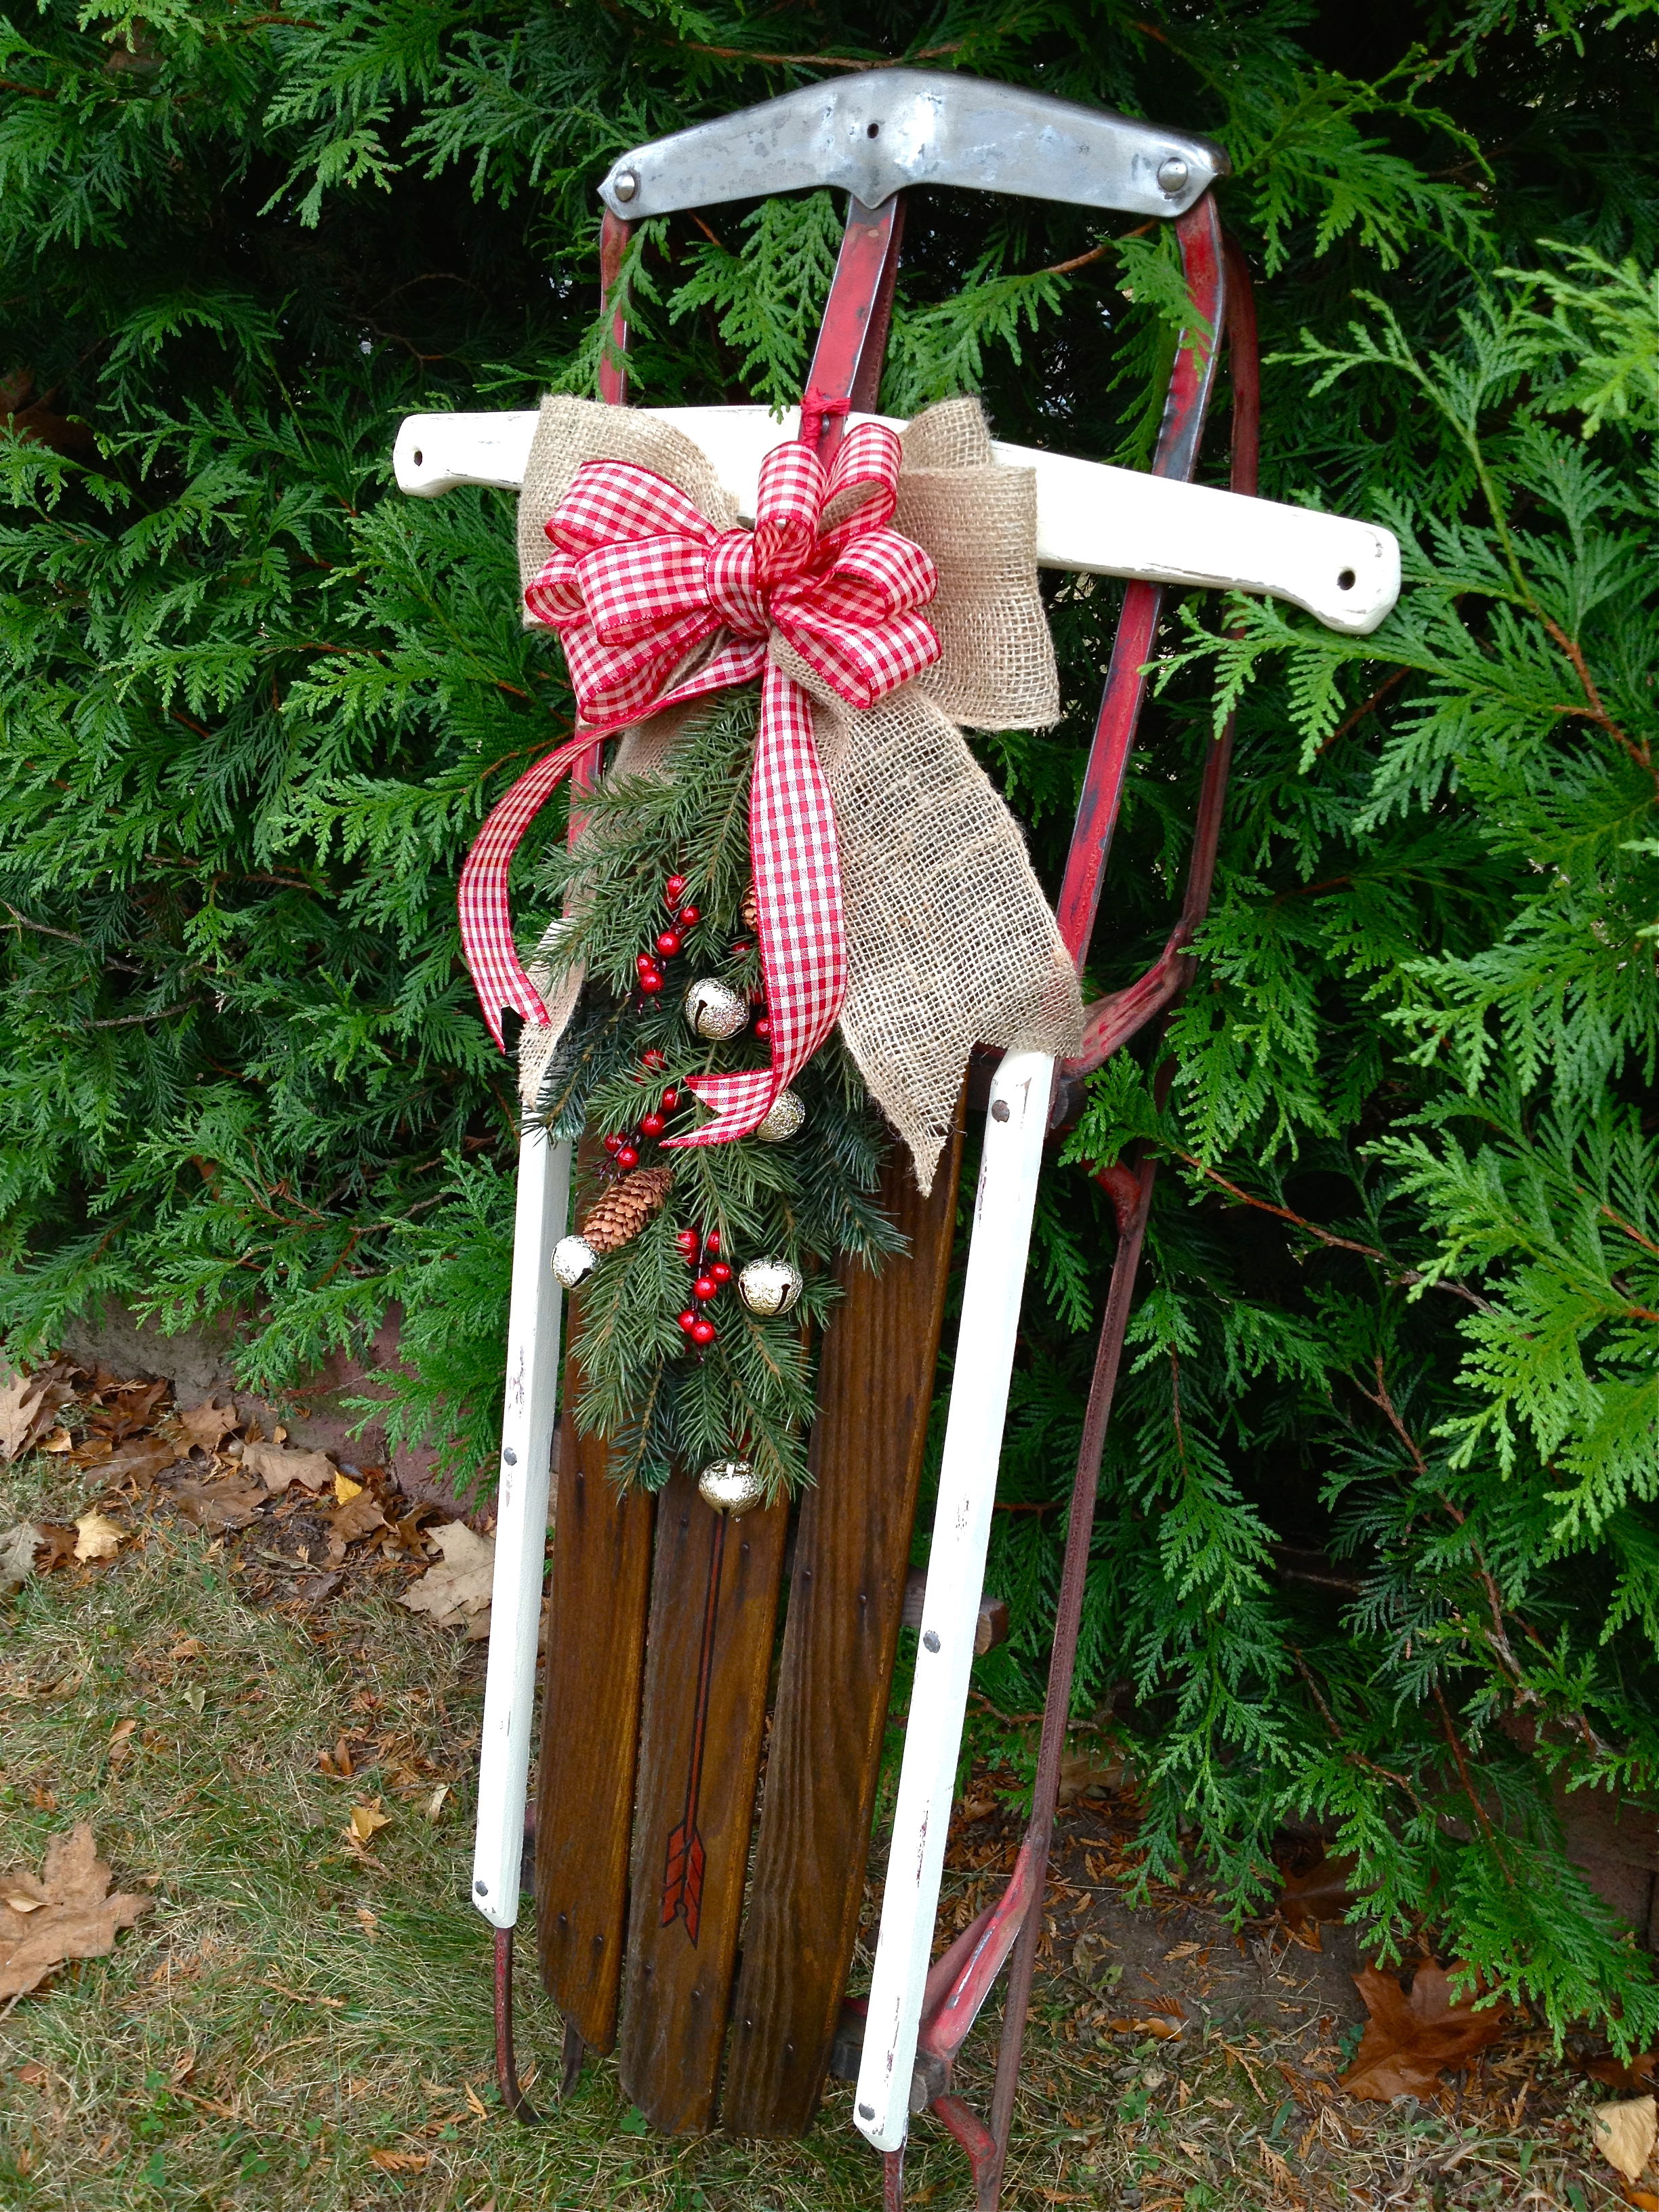
Finally, it’s time to attach the decorations to the front of the sled. I used some red twine to tie the pine branch and bow to the the sled with a few tight knots.
This sled has become one of my favorite holiday decorations. It is so unique and eye-catching, while still having that vintage charm that makes it seem right at home in any space. You can’t go wrong with this Christmas DIY project!
Happy crafting, and happy holidays!

Lisa loves this. Can u make me one?
LikeLike
Yes I can!!
LikeLike
This is such a creative way to repurpose an old sled.
LikeLike